Easy desserts to make with your kids
School holidays are finally here! Are your children already bored? Have they already gone through all their favourite activities? Don't worry! Keep them busy in the kitchen and create some wonderful memories together making some delicious and easy desserts for all the family to enjoy. Here are some easy recipes to get you started.
Young chefs, are your hats and spoons ready? Let's go!
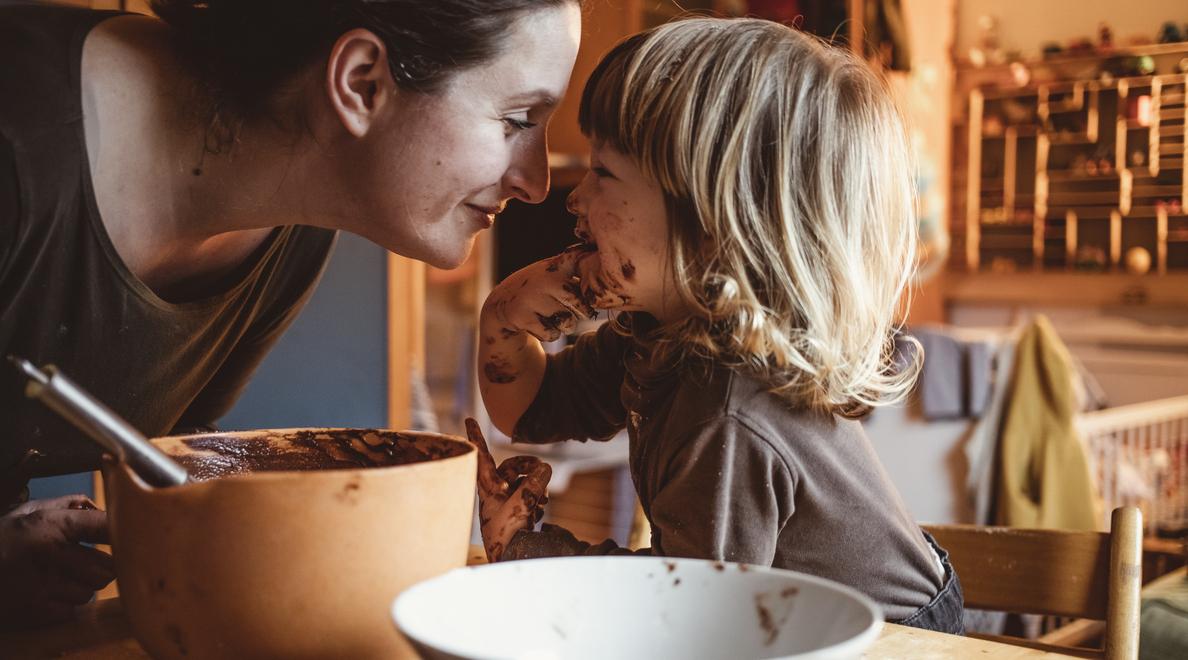
For six small pots, or one large bowl if you can’t hold back...
Ingredients : 200g of dark chocolate (72% cocoa) 6 free range eggs 1 pinch of salt |
Step 1: Yum, it’s finger licking good
Start this easy recipe by letting your children break the chocolate bar into small squares. Then, put the pieces into a bowl, and place the bowl in a water bath over a pan of hot water. To get the little cooks involved, have them watch the chocolate melt. "You’re in charge of the chocolate! Be careful, don't let it get too hot, or it will go all grainy.” The aim is to have a nice and smooth liquid chocolate. Hmmm…. delicious. And here’s a tip: stir the chocolate with a wooden spoon. Temperature-wise, you should be able to touch the chocolate with your finger without burning yourself. Mind you, it's best not to check too often...or there won’t be any chocolate left for the mousse! Yes, we know what you chocolate-lovers can get up to...
Step 2: Make a fluffy chocolate mousse with your children
Crack open the eggs and separate the whites from the yolks in two different bowls. Let the children have a go at this, they might manage it! Next, beat the egg whites until they form stiff peaks and add a pinch of salt. If the chocolate has melted, remove it from the pan of hot water and mix it with the yolks. Finally, gently add the egg whites into the chocolate mixture in two or three batches. As this is the most important step, let the children have a go! They will be proud to have made such a good, fluffy chocolate mousse. It’s a tricky part of the process, so they need to take it easy, and mix it from the bottom to the top of the bowl, slowly creating circles with their spoon.
Step 3: Time to fill the pots!
Take turns filling each small pot until all six of them are full, or alternatively, pour all the mixture into one large bowl. (You'll still have to share it later. Or maybe not…). Put the mixture in the fridge for at least two hours, so the chocolate magically turns into a mousse! To give your recipe a little twist, you could add some grated coconut, orange zest or chopped hazelnuts. And for some extra generosity, pour in a little whipped cream... Let’s eat!
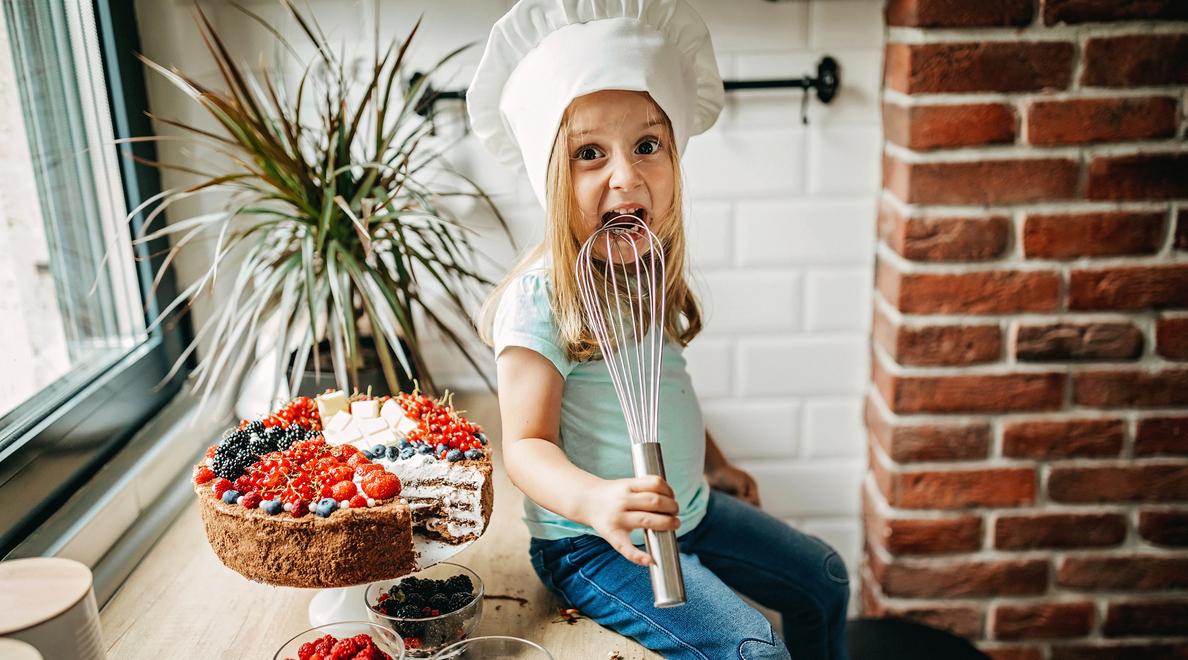
Six generous pots for the whole family, or for a few of you to have seconds...!
Ingredients : 24cl of cream 240g of mascarpone 50g of icing sugar 240g of strawberries 30g of sugar 3cl of water 12 mint leaves 12 digestive biscuits |
Step 1: Share the tasks with your children
Let's get this party started! Whip the cream with a whisk and add the icing sugar. It’s better if you do this rather than the kids, you need to have a firm grip and some speed. Unless, of course, you have an electric mixer. If so, they can mix it up themselves and all you need to do is keep an eye on them. Once the cream is ready, very gently mix it with the mascarpone in a bowl. Why gently? Because this way, you get more air into the mousse, making it as light as a cloud...
Step 2: Time to cut the fruits!!
Of course, you can’t have strawberry cheesecake without the strawberries! Cut them into quarters and marinate them in water with the sugar and six roughly chopped mint leaves. Then pop the lot into the fridge for a good hour. That’s enough time for the kids to draw a nice picture, help you with the dishes, or start crushing the digestive biscuits into crumbs. Do you think they might be tempted to eat all the biscuits as they break them up?
Step 3: Give space to your creativity for the dressage
If you have any empty yogurt pots in your kitchen, this is your chance to reuse them! Put a layer of the biscuit crumbs that your littles ones have brilliantly created at the bottom of each pot. Then, add a first layer of cream, some strawberries, and then a new layer of cream. One after the other. Round it all off by adding a few mint leaves for decoration or, to add a little extra crunch, top them with crushed pistachios. Make the first pot yourself, so the children can see how it’s done, and then let them make a few themselves.
Step 4: Yumm, the best part of this easy recipe is finally here!!
Put the cheesecake in the fridge for an hour. And then... hey presto! It’s ready! Now comes the best part of all, eating everything!
We’d love to have your feedback on your cooking experiences with your kids. And if they didn't like it, or if it didn't work out, you can always come to one of our Campanile restaurants for some lovely food and family time!




.jpg)
.jpg)
