It won't be long before the bells leave a myriad of chocolates in your garden. You've planned a nice lunch with a beautiful family table to celebrate Easter, and you're looking for recreational activities to entertain the kids. We have the solution! Gluing, cutting, folding... enjoy family time by making your own decorations! From eggs to bunnies, centerpieces, nature decorations and garlands, there is something for everyone in our decoration ideas!
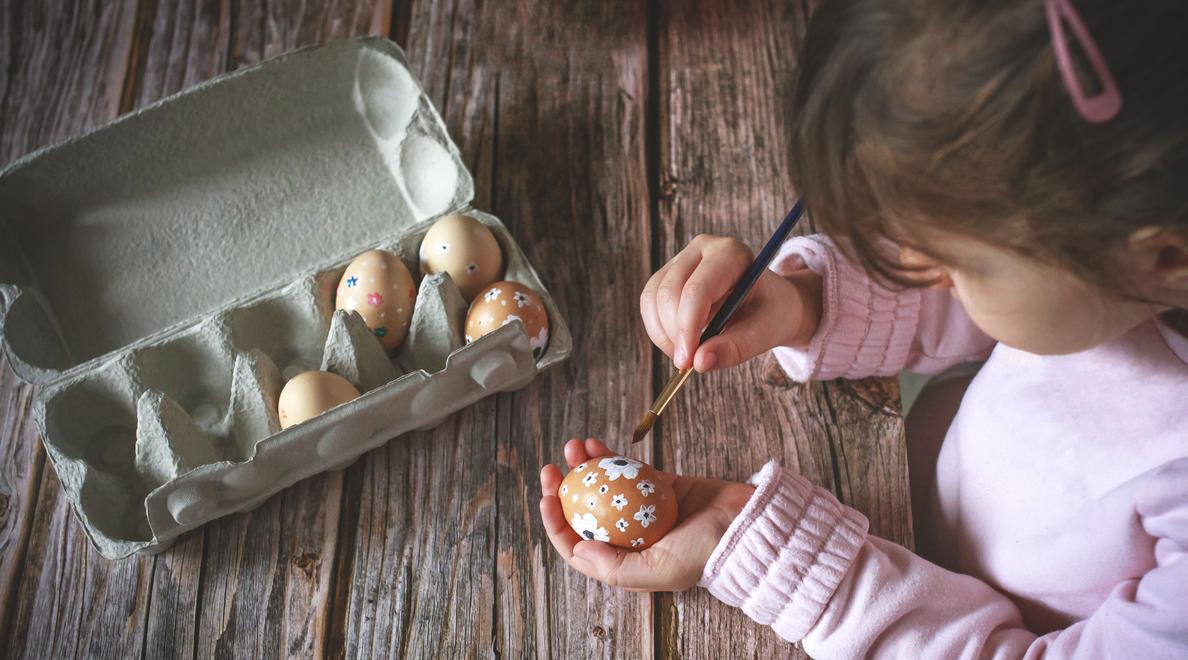
The great classic, decorate your Easter eggs with paint
If this is the most popular craft activity during the Easter season, perhaps it's because it's so adaptable to all ages! The colorful eggs can be adapted to any level of complexity and desire! However, it all starts with one step: hard-boiled eggs!
Once the hard-boiled eggs are cooked and cooled, paint the egg with the color of your choice and let it dry. You can repeat the process if small flaws appear or if you want a brighter color. Then let your imagination do the rest! Decorate the egg with paint and fine brushes and have some glue available to attach small decorative elements. For the little ones, opt for stickers and adhesive elements. For older kids, feel free to use a variety of materials, such as fabric.
This simple activity will stimulate the creativity of the whole family! Why not showcase it by using your colorful eggs for your table decorations? In this case, go a step further by putting your masterpieces in a cardboard egg carton that you have decorated beforehand... in the theme of your tableware and napkins?
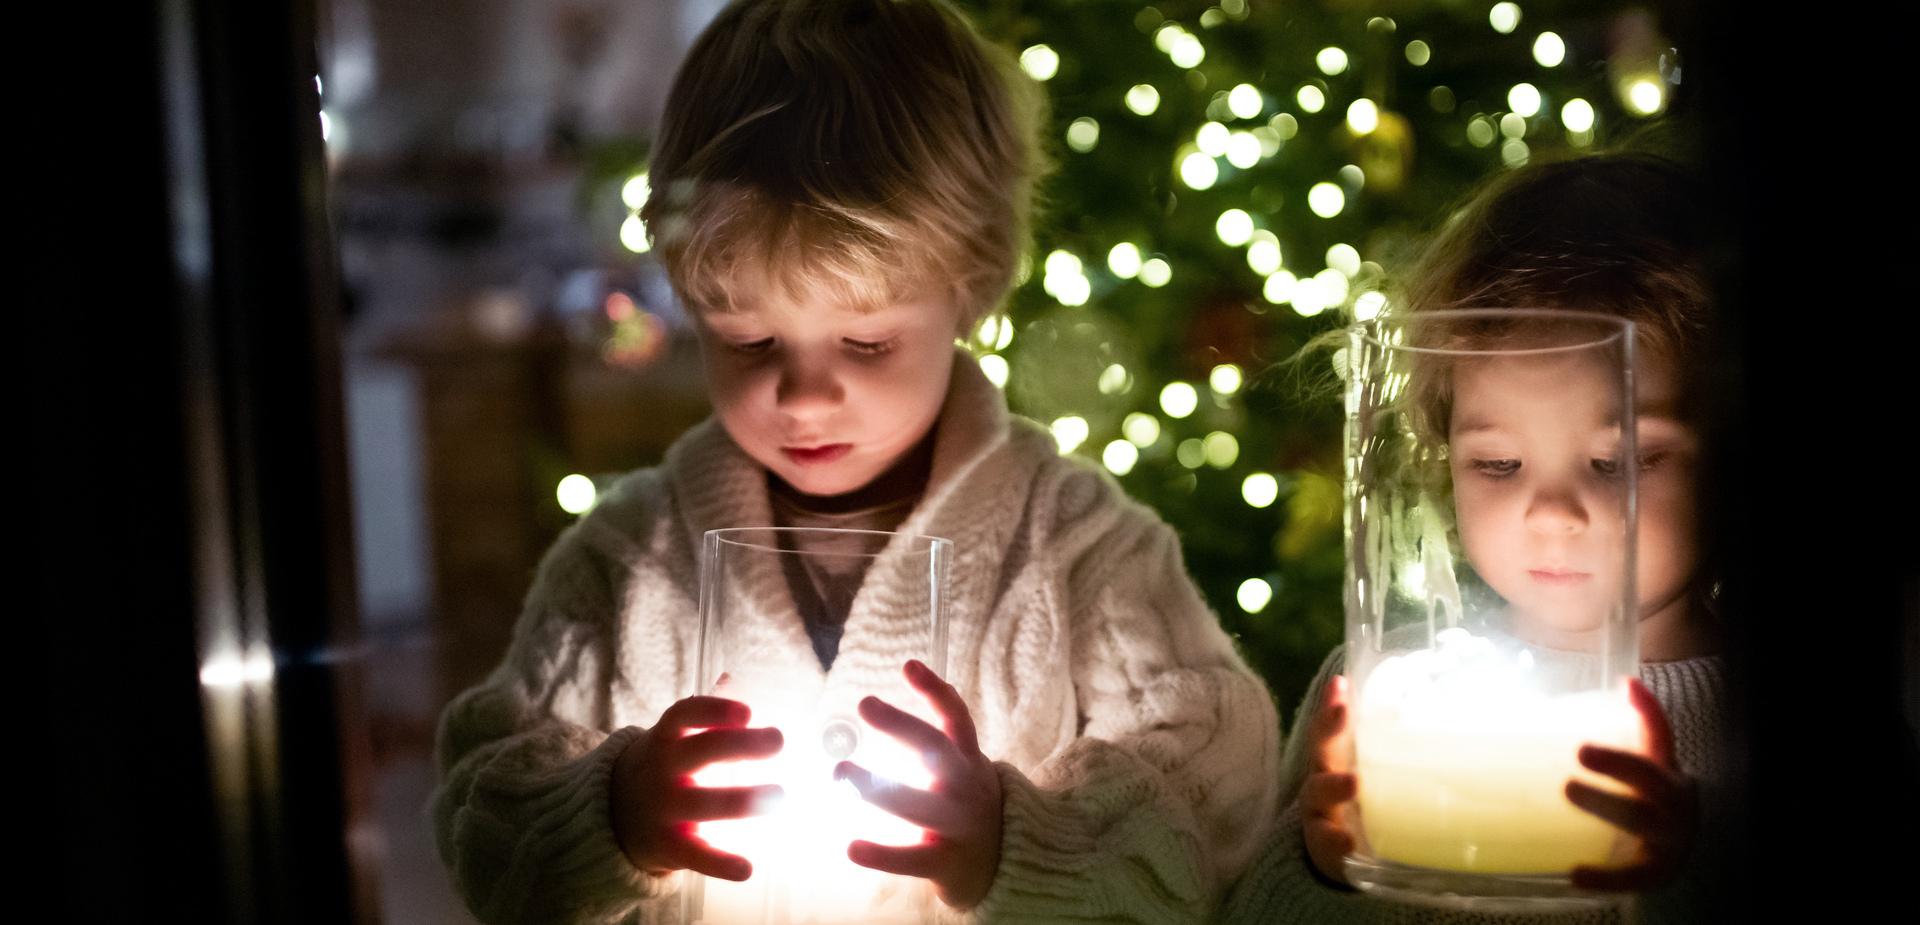
Easter illuminated with egg candles
Refined decoration which will accompany the Easter Vigil, your egg candles require a very precise material (wax and wick for the candle)... and especially a little caution! Indeed, you will need to guide your children for this activity, as the candle making process must be done under adult supervision: the melted wax is hot. So, what do you think? Are you ready to get started (safely)?
First, collect and clean empty eggshells. Once dry, place the candle wick in the bottom of the shell and pour a few drops of wax to hold it down. When the wax has solidified, pour in the rest of the melted wax while holding the wick upright (you can use a clothespin). Wait a couple more hours and your egg candle is ready!
For a "wow" effect, repeat the process with several eggshells. You can then place your candles in a basket (making sure they are stable) or a cardboard egg carton, adding other decorations. You can also use your most beautiful egg cups to scatter your egg candles on your beautiful party table!
A symbol of Easter, the DIY Easter wreath
What could be better than a beautiful Easter wreath as a centerpiece? A do it yourself wreath requires a little preparation and dexterity. As spring approaches, it is also an opportunity to immerse yourself in awakening nature and to go in search of its little treasures.
Indeed, once you have your wicker wreath (bought or made by yourself), the fun is to customize it with your family. Start by inserting leaves, branches and twigs to cover the wreath, and then add smaller items such as flowers, small eggs or ribbons. To attach them, you have the choice: glue, tape, string...
But be careful not to overdo it... That's the risk! For the result to be aesthetic, it is better to bet on a certain sobriety so that the wreath does not end up overloaded. If you are satisfied, don't hesitate to make it last over time. An Easter wreath can be hung on your door for several days... Your neighbors might even be inspired by it!
The DIY Easter tree, the natural decoration with style!
The days are getting longer, the sun is getting stronger, the trees are budding... You feel like getting out of your house? We understand you! Combine pleasure with business and take advantage of a family outing to prepare your Easter tree.
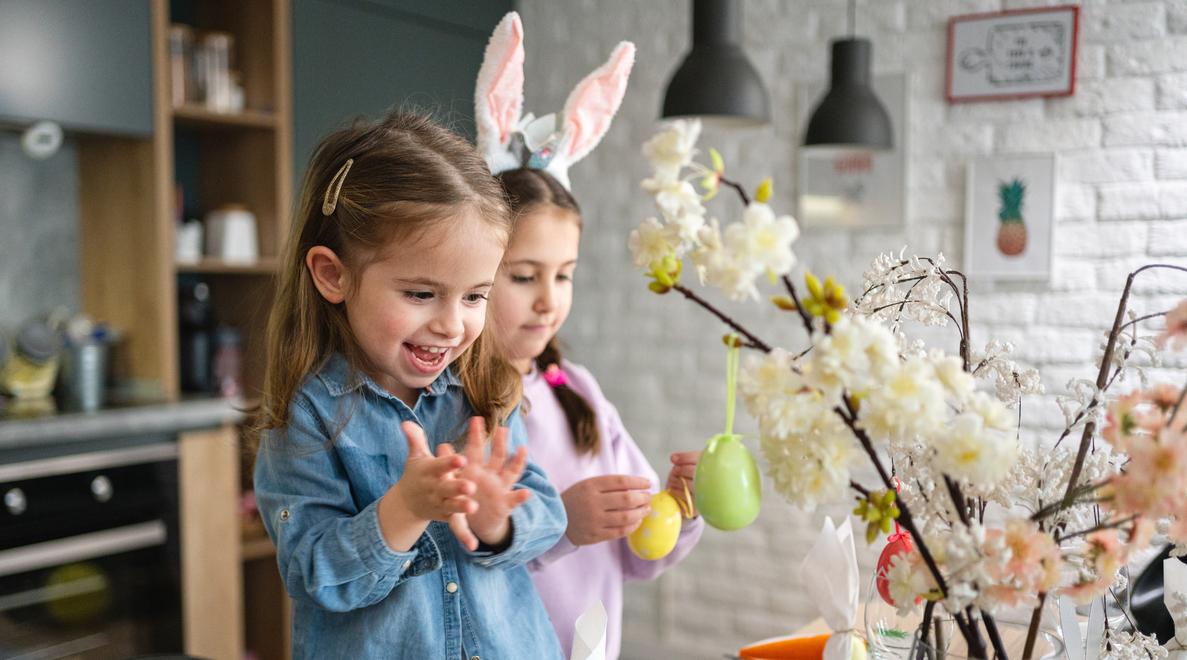
The goal is to collect beautiful branches, preferably long ones, because they will give the final result its elegance. Once this raw material is collected, let it dry, then place it in a vase like a bouquet.
Your Easter tree is almost ready... it just needs its ornamentation! As with the Christmas tree, you will need to decorate the branches with small ornaments that you have made before attaching them to a pretty string: cotton or paper eggs, small paper characters or cardboard bells... your children will know what they like best!
This Easter tree will make a great impression in your hallway or living room, creating a natural and festive atmosphere. Don't miss out on the big day and place it prominently on the table!
Pimp your Easter decoration with place cards
What could be more pleasant than to feel expected when one is invited? The place cards underline this personal attention of the hosts. And it's even cuter when the kids have done it too. Ready for this family DIY workshop?
Equip yourself with cardboard sheets that are not too big. If your kids are young, let them draw or paint on it. Once it's dry, add a label on which you will have written, in your best handwriting, the names of your guests.
If your children are a little older, it's up to them to express their calligraphy talent! Around the name they have written, they can go further than drawing and painting by gluing different small elements: cut and decorated shapes on another support, but also small treasures found in nature, such as small flowers or cute twigs.
You can spice things up by imposing a theme (in line with your table decoration!) or by opting not for the classic rectangular format, but for the egg format for your place cards!
Decorate old cheese boxes for Easter
Customizing cheese boxes is a very easy idea, as long as you start early enough! Indeed, it is out of the question to prepare a little nest for chocolate eggs in a box that would still smell like camembert!
So keep your cheese boxes a few weeks before the activity, air them out and if the smell still hasn't dissipated, place some fragrant herbs (lavender, thyme...) or baking soda to get rid of the last scents.
Then, nothing could be simpler, equip yourself with paints and markers to personalize the box. You can also go further with glitter or small objects to stick. Let it dry and then fill your gorgeous container! Small chocolate eggs, a small gift for your guests... anything goes!
Make a bunny garland to brighten up your Easter decorations
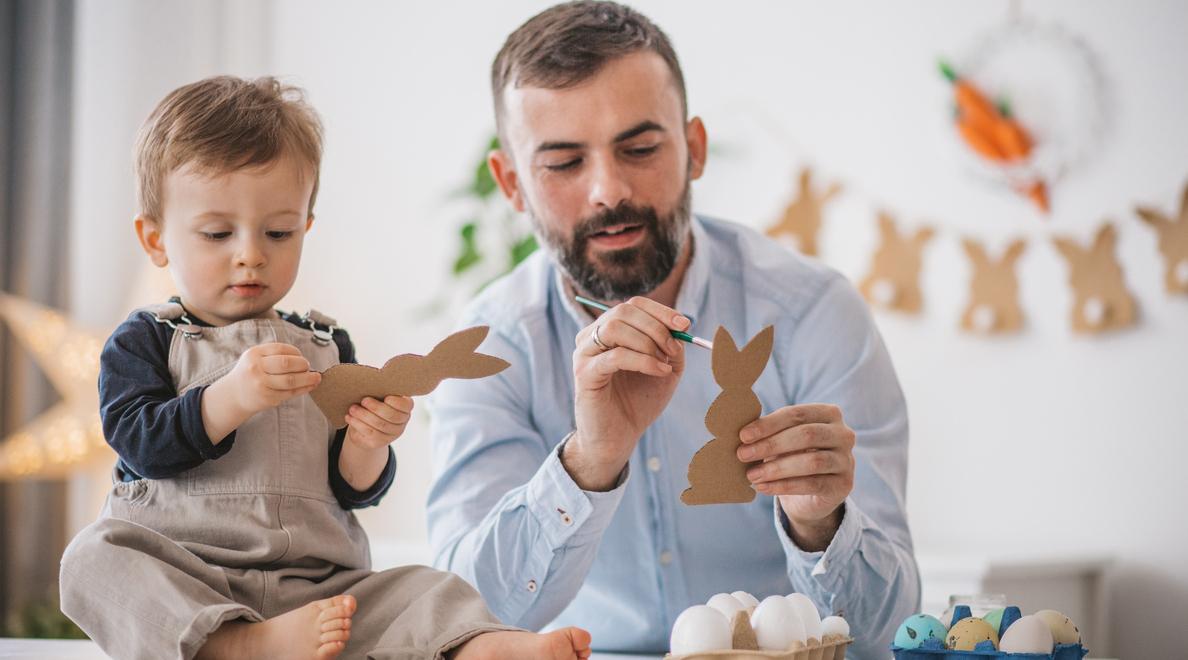
The key to the success of this craft is to find a good rabbit pattern that is easy to duplicate and easy to cut out (especially if you are starting the workshop with young children...). Using this template, make the same shape several times in the medium of your choice, ideally cardboard for a better hold. You can paint a neutral support, alternate patterns and materials, and why not even take old books for a "retro" look?
Then, take some absorbent cotton, make a ball and glue it to the body of the rabbit: the tail is ready!
When you have enough rabbits (at least ten), make two holes in the ears to pass the garland wire through. If you don't want the patterns to slide around, put a little tape. Your garland is ready! It can decorate your walls, your doors or even your Easter tree.
And if you want to vary the pleasures, do not hesitate to customize your garlands! Eggs, bells, carrots... choose the pattern of your choice!


